Create a Donut in Blender
Creating a donut in Blender is a popular beginner’s project!
Let’s walk through each step to help you make one!
But first, what is Blender?
Blender is a powerful, open-source 3D creation suite that can be used to create a variety of visual projects.
Artists, designers, and even beginners like me, use it for 3D modeling, animation, rendering, video editing, scripting and customization, and 2D animations.
Blender is free to download, constantly updated, and has a massive online community and tons of tutorials, making it a versatile tool for beginners and professionals alike.
Step 1: Install and Set up Blender.
You can download a copy of Blender here.
Open Blender and create a new project
Step 2: Basic Modeling
Add the Donut Base
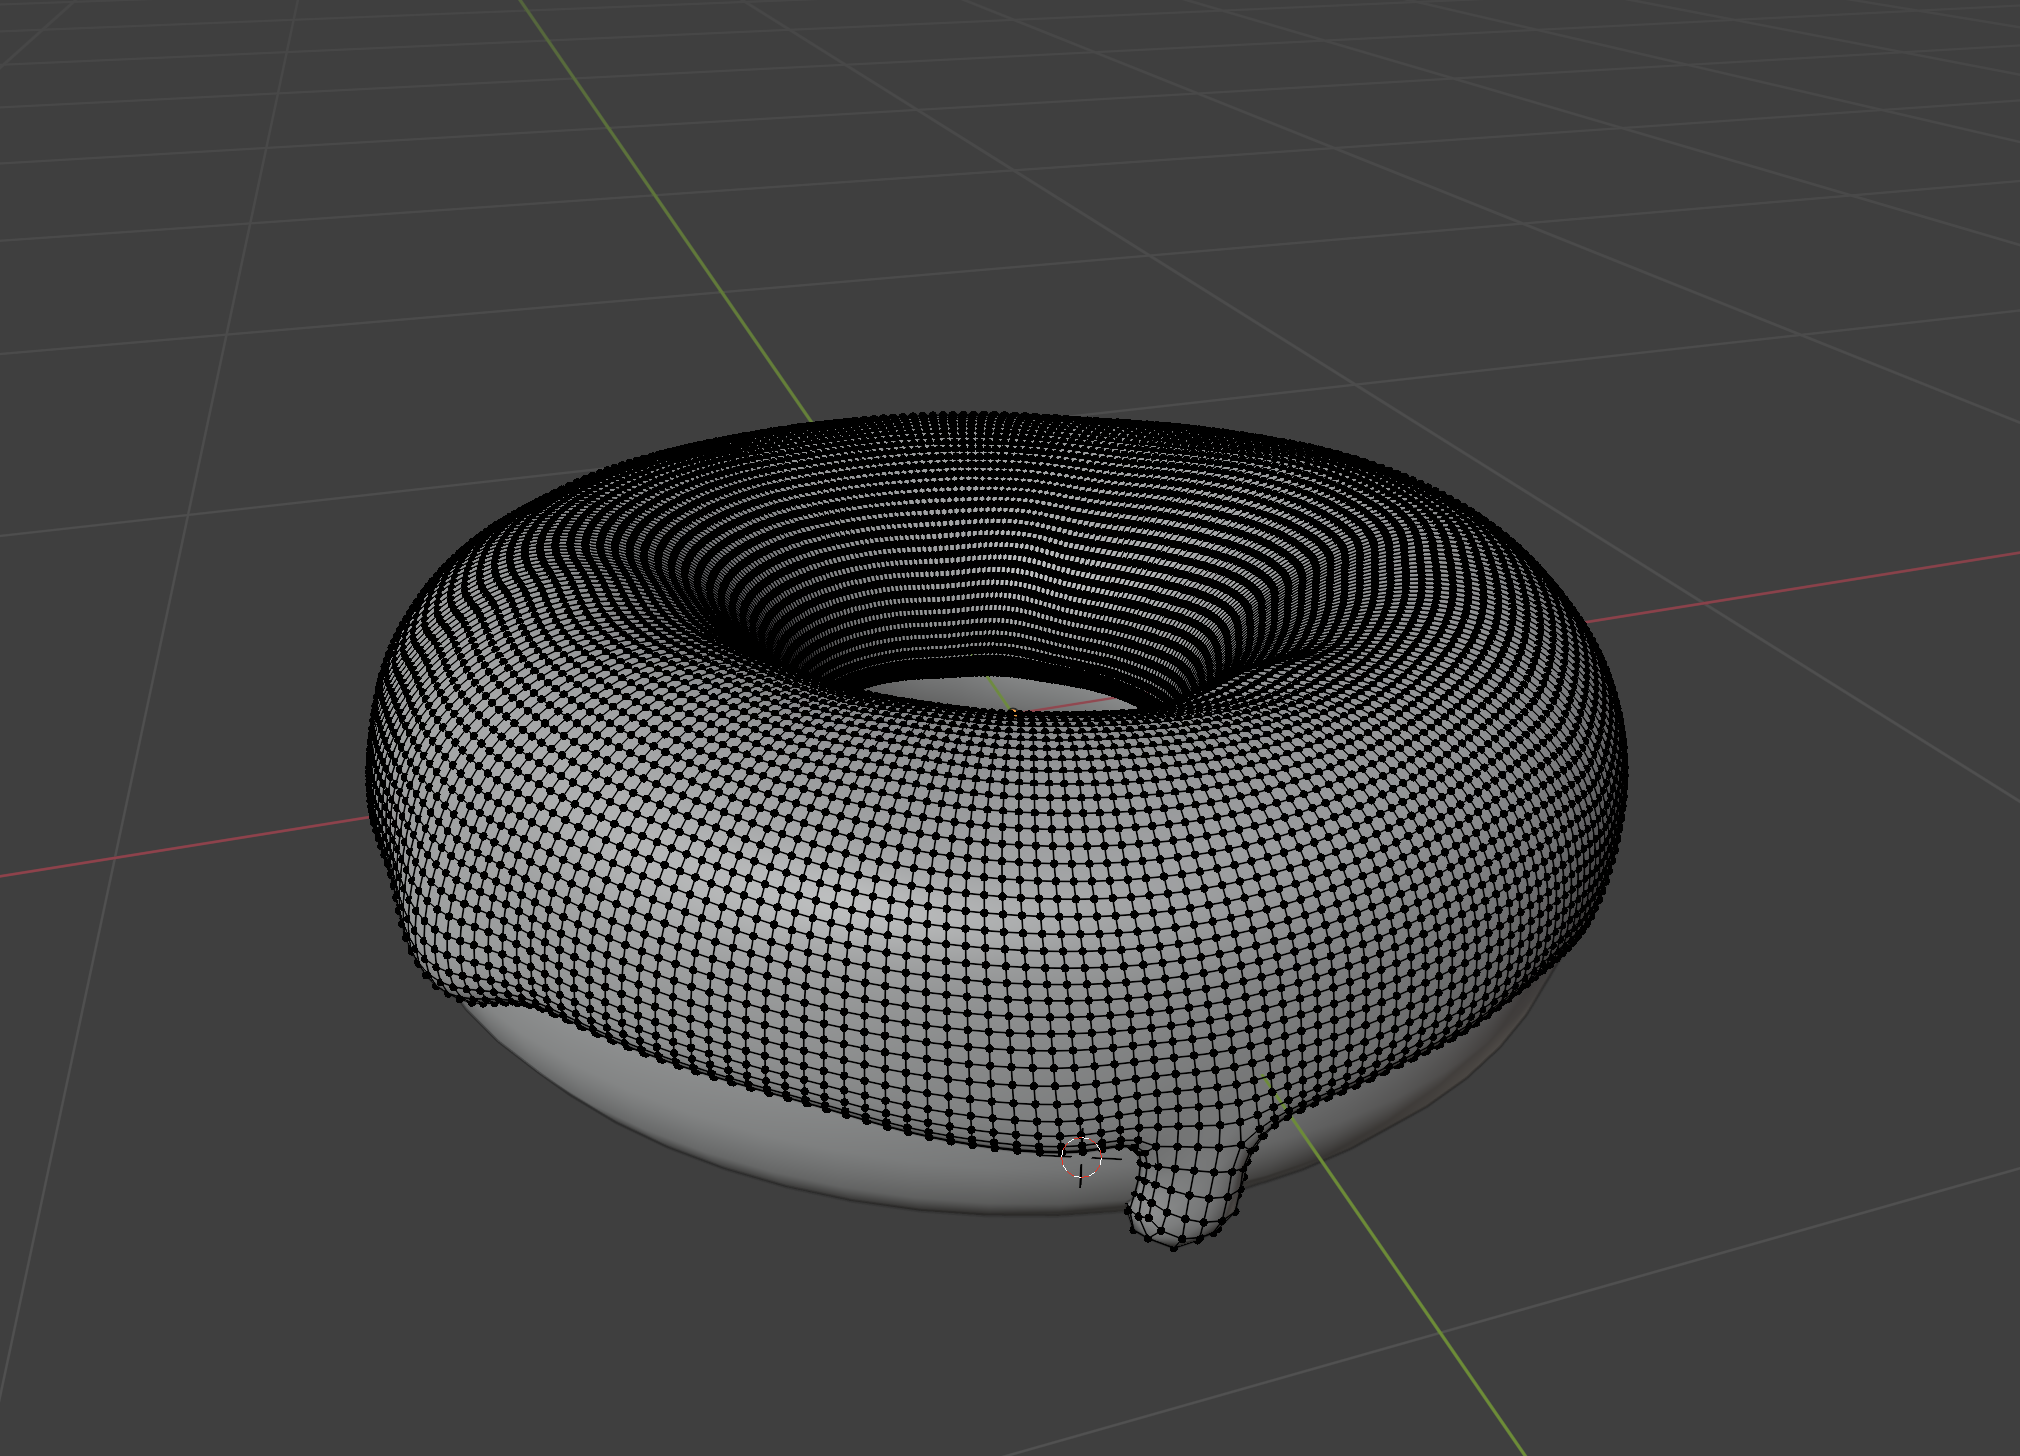
Delete the default object and add a Torus. (Add -> Mesh -> Torus). After adding it, look to the bottom-left corner for a pop-up with options like Major Radius and Minor Radius. Major radius controls the overall size, and the minor radius changes the thickness of the ring.
Note that the options pop up on the bottom left only immediately after adding the shape. But you can bring back by hitting F9!
Shape the Torus
You can re-size the torus, and you can change the resolution in the options menu. For my donut, the specifications I used are 32 Major segments and 12 minor segments and Major radius of 0.39m and minor radius of 0.24m.
Basic Modeling
You can make your donut look high-resolution by right clicking and then shade smooth.
To actually make it smoother, you can do so by adding a modifier. By clicking on the wrench icon in the right-hand side of the screen, you can add a subdivision surface modifier to make it smoother. (Cntrl + 1). The more you increase the viewport, the finer the details become.
In edit mode, you can proportionally edit, change the vertices, faces, and deform the donut to make it realistic (and not perfectly round and smooth)
Step 3: Modeling the Icing
Add the Icing Base
You can duplicate the donut shape you have to create the base of the Icing. You can do so in Object > Duplicate Object (Shift + D). By hitting the esc or right clicking, you can place the icing right on top of the donut. In the outliner, name the object (F2) so you don’t get confused later on!
By entering tab, you can go into the edit mode. Here, you can delete the bottom half of the mesh. You can select through the mesh in the Toggle X-ray mode.
Changing the Thickness of the Icing.
You can increase the thickness of the mesh (I have thickness set to 0.025 and Offset to 1.00) with the solidify modifier.
Editing the Icing Edge
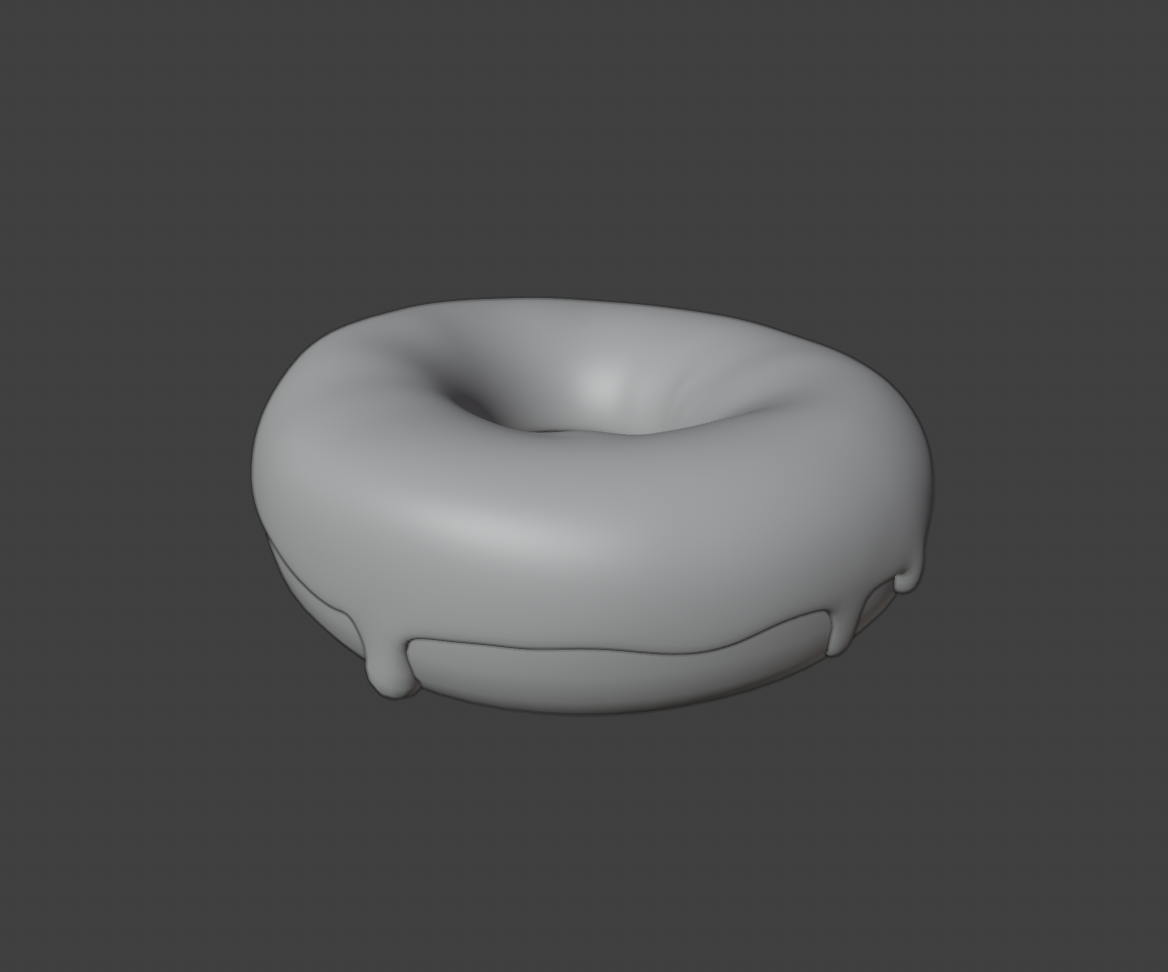
Have the proportional editing on, and turn on face snapping (make sure you have face project on), you can drag down the vertex of the icing so that it snaps to the donut base. You might have to apply the subdivision surface modifier to have more naturally flowing icing.
To create rounded icing edges, you can add subdivision surface modifier. You want the solidifier modifier on top and then the subdivision modifier in the bottom. Then, you can change the Edge data ( I have it to 1.000) to give it a more natural look to the icing flow. To give a more defined icing trail (drooped down icing) you can select vertexes and hit E.
Step 4: Sculpting
Shrinkwrap Modifier
You can add the shrinkwrap modifier (it should happen before the solidifier modifier) to flatten the mesh.
Applying Thickness to the Icing
With sculpt mode, you can quickly add complex textures to the icing. By entering into sculpt mode and by selecting Inflate brush, you can inflate the edges of the icing. To smoothen the icing, you can increase the levels in the viewport.
Mask and Smooth Brush
Set the brush into front faces only. You can paint along the edges to make the icing even more realistic. By holding down the shift, you can use the smooth brush to smoothen out the edges.
Step 5: Shading & Geometry Nodes
Adding Color
In the Icing collection, in the material tab, you can ‘add new’ and change the color to pink (or whatever you want)! You can also edit the roughness (I have 0.3) so it looks glossy enough but not reflective like a mirror!
For the donut to look more realistic, you can use the texture painting to color the sides. You can also use the UV unwrapping to paint the sides in a lighter hue, for a more realistic donut look.
Adding the Countertop
By hitting Shift + A, add a plane, which will later be our counter top. By using control + P you can pair objects (Icing + base) so they move together.
Then, add the image texture. I used Andrew Price(Blender Guru)’s marble countertop texture. It can be found here.
Geometry Node
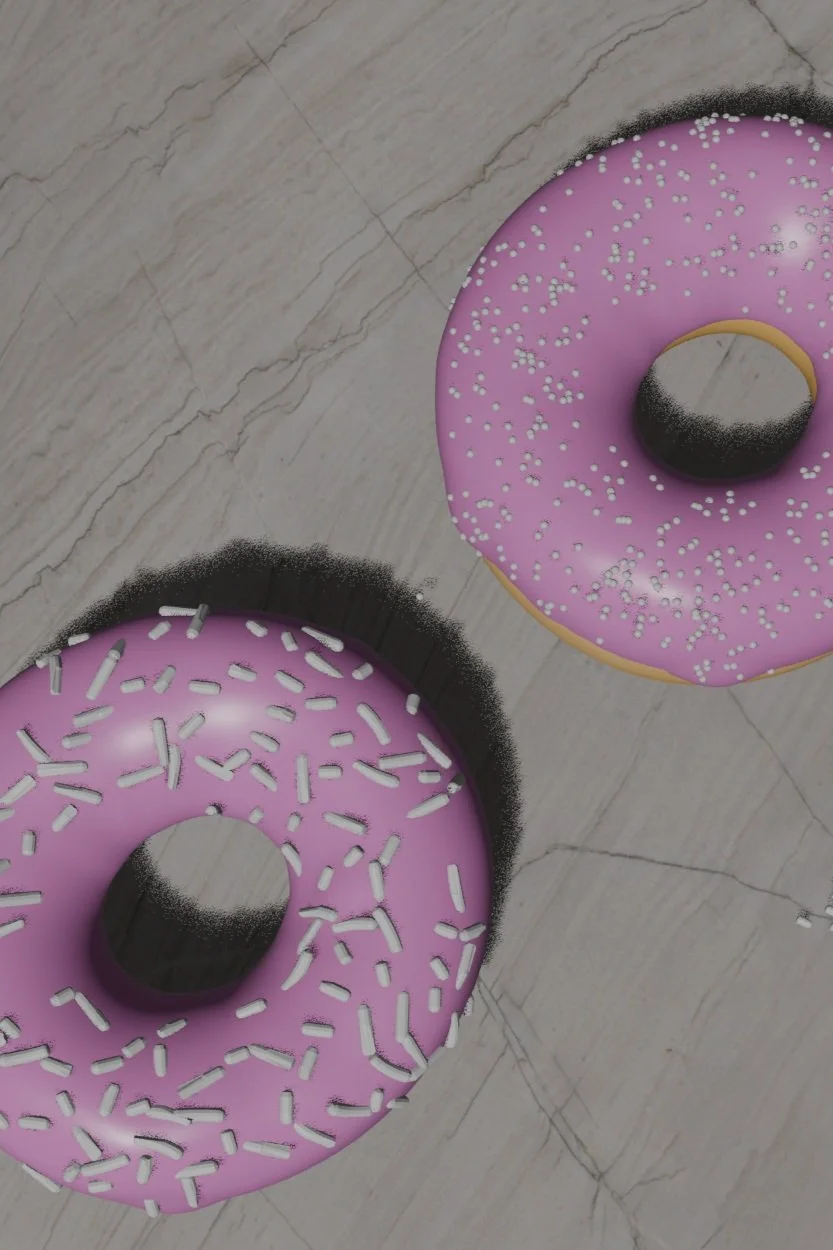
With Geometry nodes, you can add the sprinkles (finally!).
Shift + A > Mesh > UV Sphere will represent one sprinkle. Then, toggle around the density to play with how much sprinkles you want on your donut.
Shift + A > Mesh > Cylinder will get you started on adding long sprinkles to your donut


